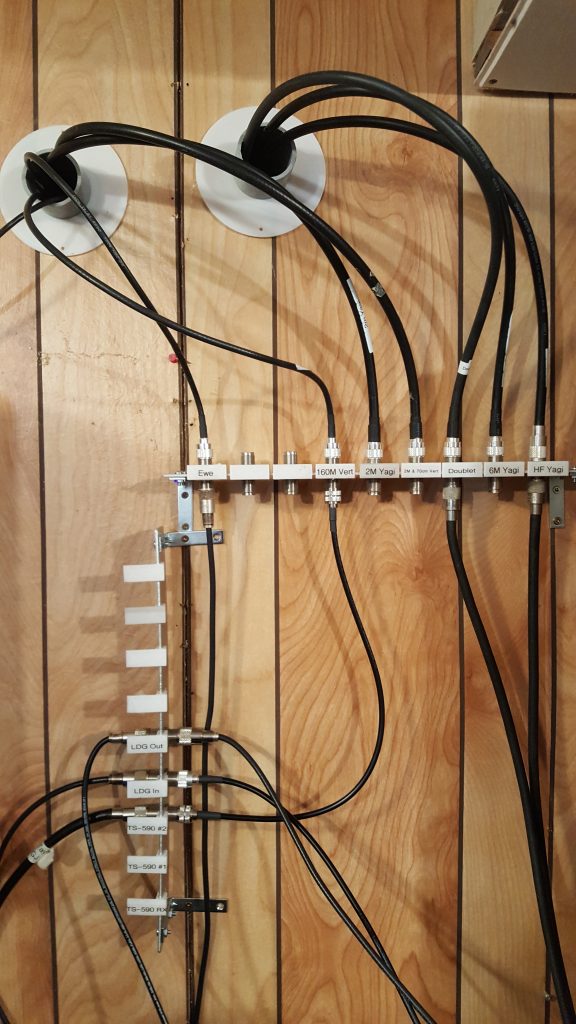
Originally all cables from outdoors entered the basement shack via a 2″ hole drilled through 2 panes of Plexiglas which had replaced the original 5mm sliding glass panes. Every time a cable was added or removed I would carefully stuff the air gap around the cables tightly with cloth. Not a very good setup at all. Not matter how careful I was I would always feel a draft around the cables and I think more than one field mouse may have snuck in this way. I also could not open this window anymore but that really was not a big issue.
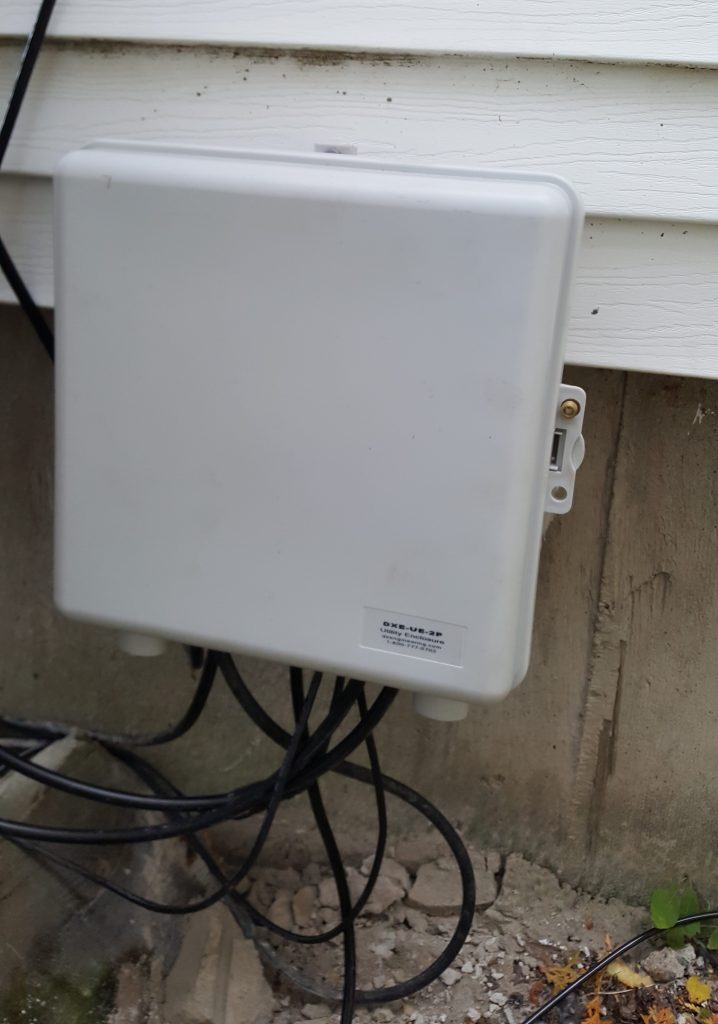
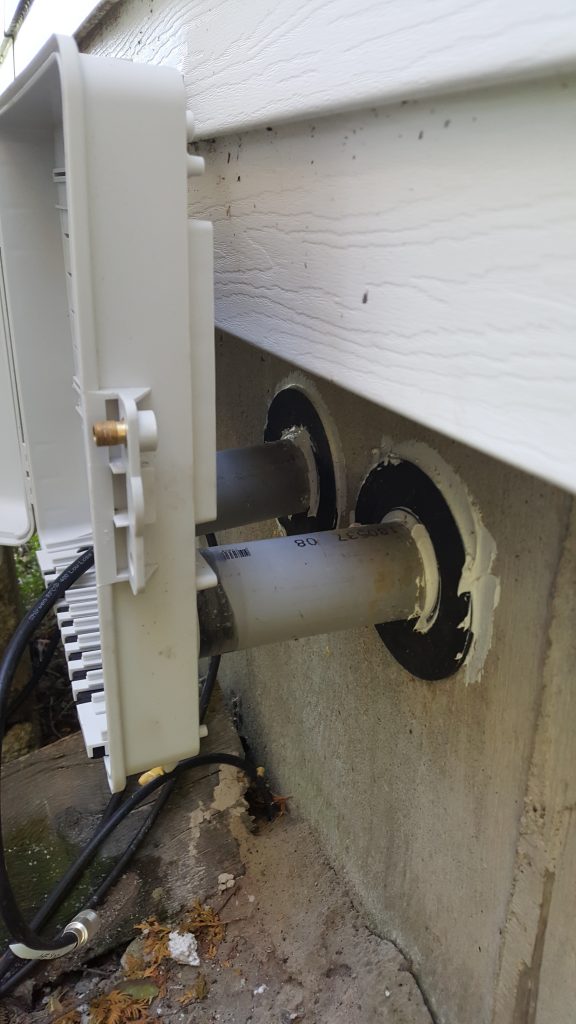
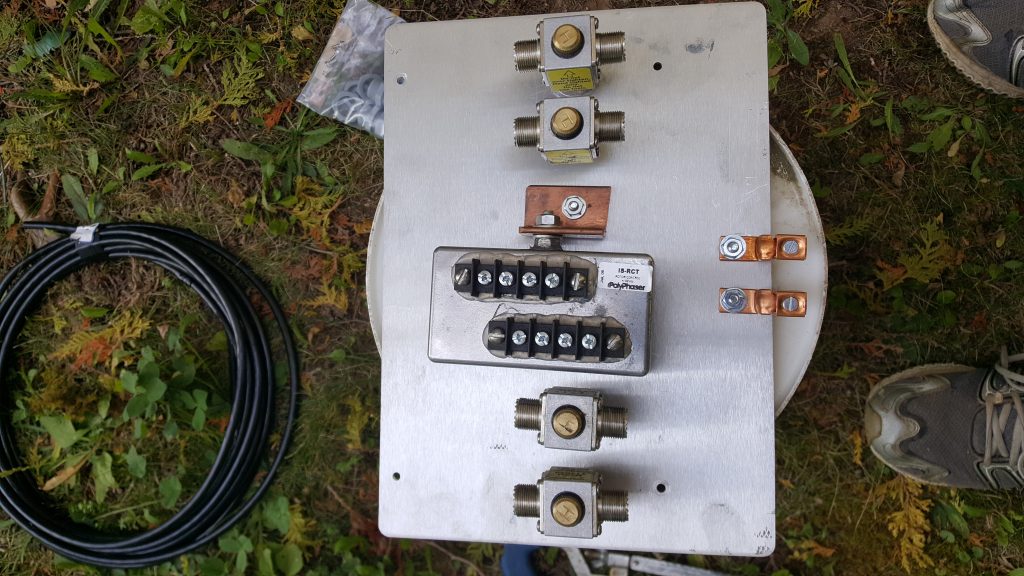
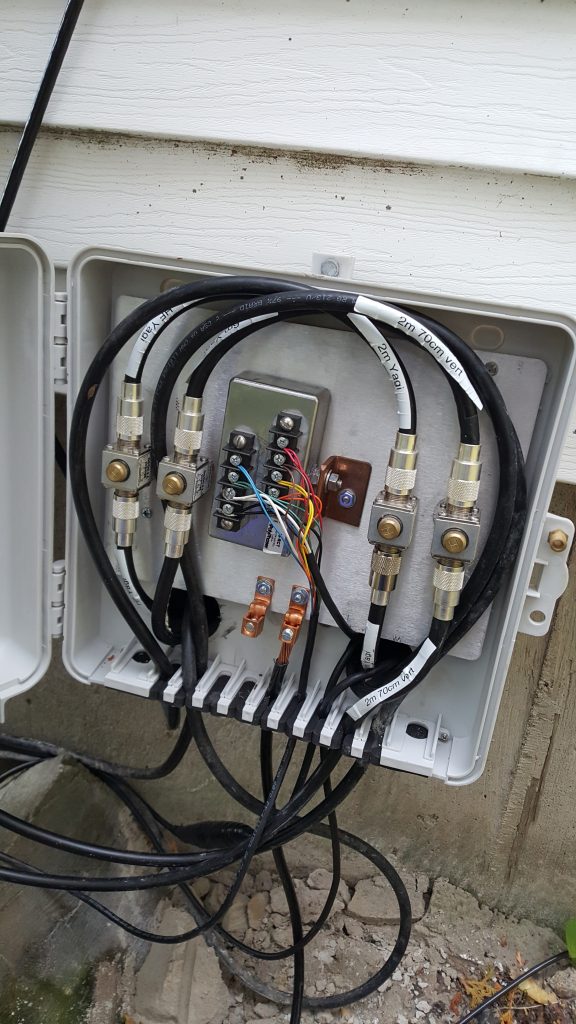
I then purchased a DX Engineering DXE-UE-2P Enclosure as it looked like a good way to improve my current system. The DXE-UE-2P has many options for cable routing and I decided on drilling 2 holes through the basement wall’s 8 inches of cement for PVC Electrical conduit which can be glued on the rear of the DXE-UE-2P . The photos below show what i have done.
