Welcome to my Ham Shack . After spending hours upon hours of reading articles, projects and other Ham adventures that others have posted I thought it may be time to share some of my activities that be of interest to others. If you are wondering what Ham Radio is all about checkout the Radio Amateurs of Canada (RAC) https://wp.rac.ca/how-to-start or the American Radio Relay League (ARRL) sites http://www.arrl.org/what-is-ham-radio
73
Glenn
CubicSDR with a SDRPlay RSP on a Pi4
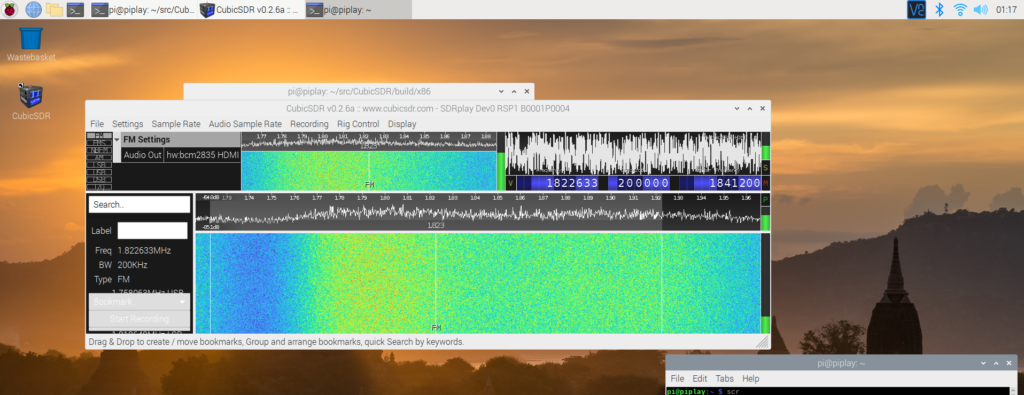
I was was assisting VY2HF install CubicSDR with his RSP1 and ended up creating a script to automate the process and thought I would share it here. I started with K3OS’s rtf file, found a couple of typos, changed a few things and make a bash script out of it. This script installs Hamlib 4.0 which supports many newer rigs. All activity is under /usr/pi/src and has been tested on 3 different fresh Raspbian Buster 2020-08-20-raspios-buster-armhf-full.img
Instructions
Download CubicSDR_install.sh using the browser on the pi to the Downloads directory
Download the correct API driver from the SDRPlay website to the Downloads directory. This script is assuming the file is called SDRplay_RSP_API-ARM32-3.07.2.run
Open a terminal and type:
cd ~/Downloads
bash CubicSDR_install.sh
The first thing it does is install the API and you will have to scroll and agree to the license. Answer yes to any questions.
The script will now download, build and install hamlib, all the needed Soapy components and then CubicSDR. It will pause after each section and allow you to continue if no errors or break out if there is a problem.
If you make it to the end OK just type CubicSDR in the terminal and you should be good to go.
Antenna Cable Shack Entrance
Originally all cables from outdoors entered the basement shack via a 2″ hole drilled through 2 panes of Plexiglas which had replaced the original 5mm sliding glass panes. Every time a cable was added or removed I would carefully stuff the air gap around the cables tightly with cloth. Not a very good setup at all. Not matter how careful I was I would always feel a draft around the cables and I think more than one field mouse may have snuck in this way. I also could not open this window anymore but that really was not a big issue.
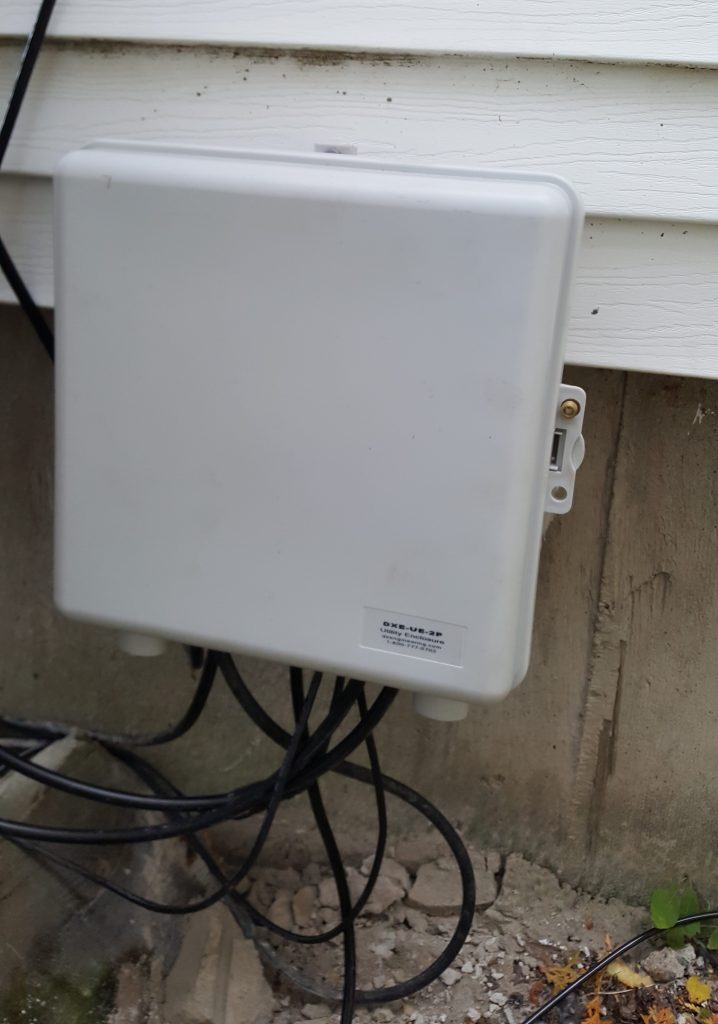
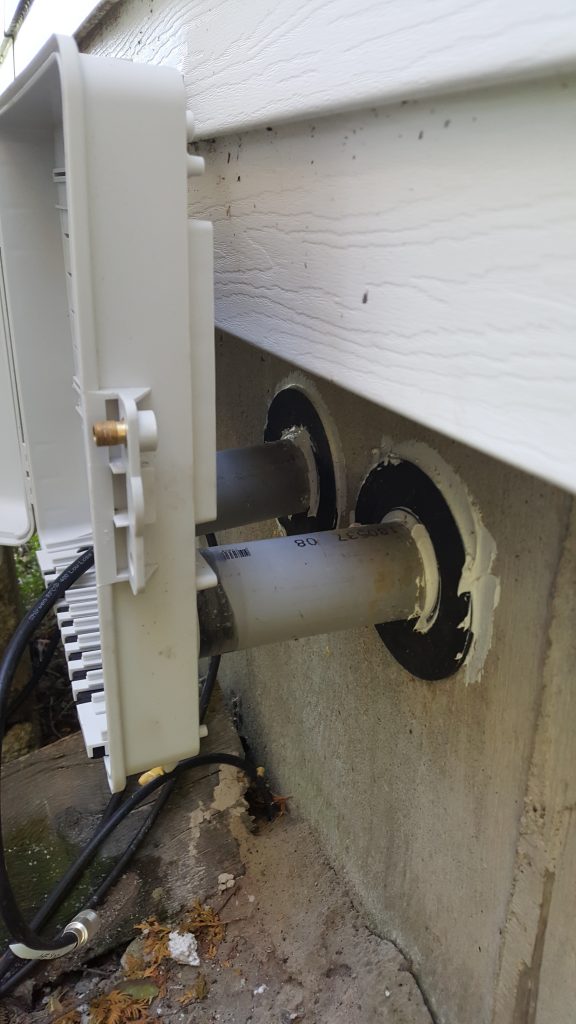
I then purchased a DX Engineering DXE-UE-2P Enclosure as it looked like a good way to improve my current system. The DXE-UE-2P has many options for cable routing and I decided on drilling 2 holes through the basement wall’s 8 inches of cement for PVC Electrical conduit which can be glued on the rear of the DXE-UE-2P . The photos below show what i have done.

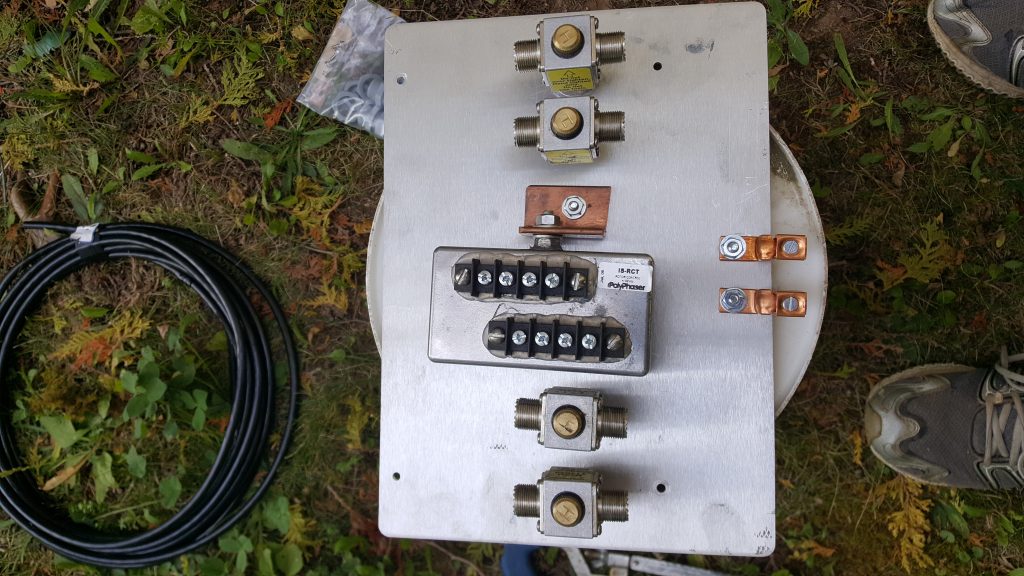
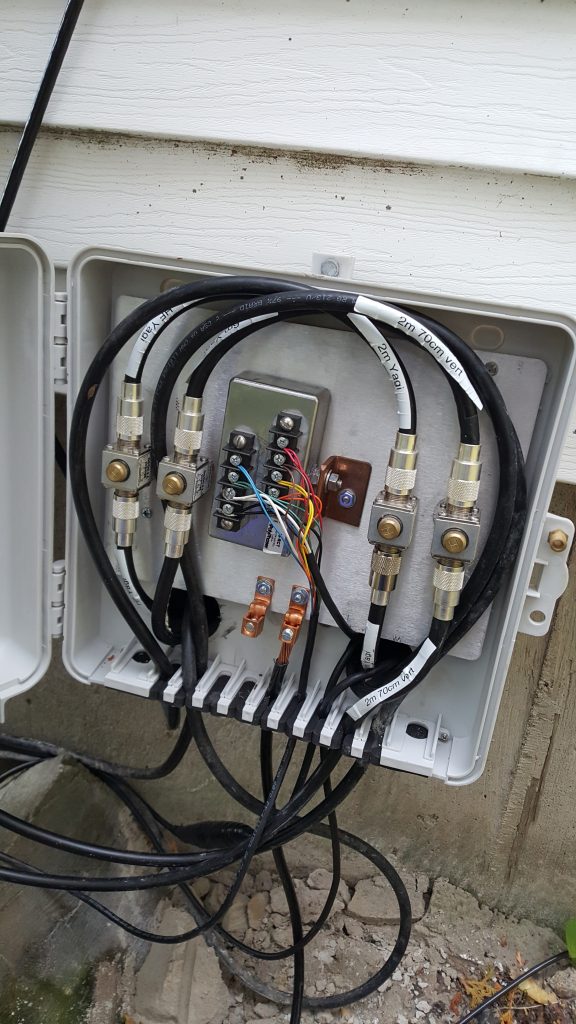
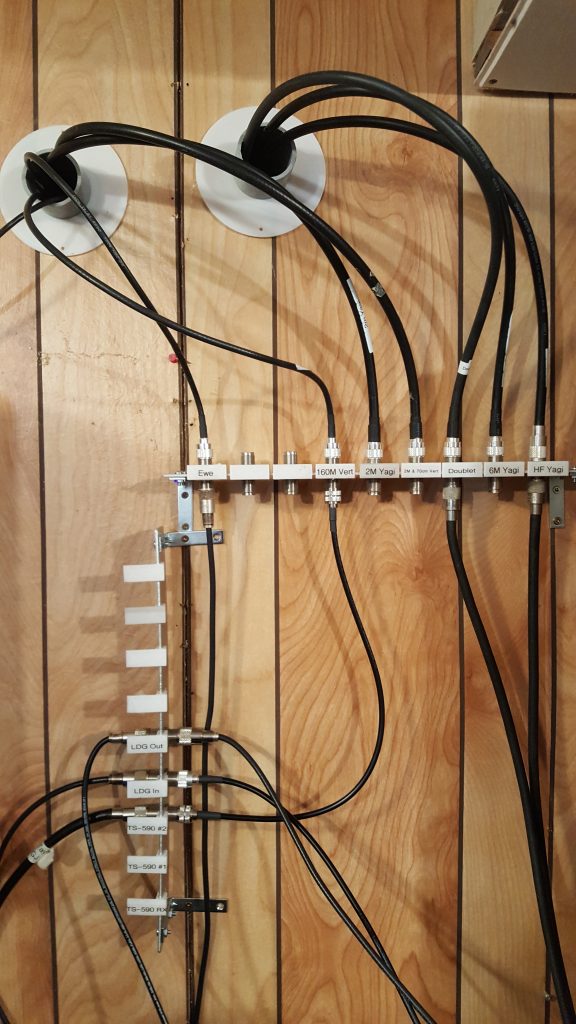
RV Ladder Portable Antenna Mount
My XYL and I love to spend some time in the summer with our Motor home at campgrounds. In the past I would use bungee cords to mount a temporary mast to mount a hamstick antenna on. This was quite a nuisance and I thought there must be a better way. This is what I did.
I have a 6M dipole at the top and 3 Hamsticks mounted at the top of the ladder. I made some brackets so I can just swing the mast into place with no ladder climbing. The brackets are aluminum opposing S brackets that hold the mast firmly in place. The mast itself is made of 3 nesting 6 foot pieces of aluminum tubing with slits and hose clamps.

Here are few photos of how I made the brackets
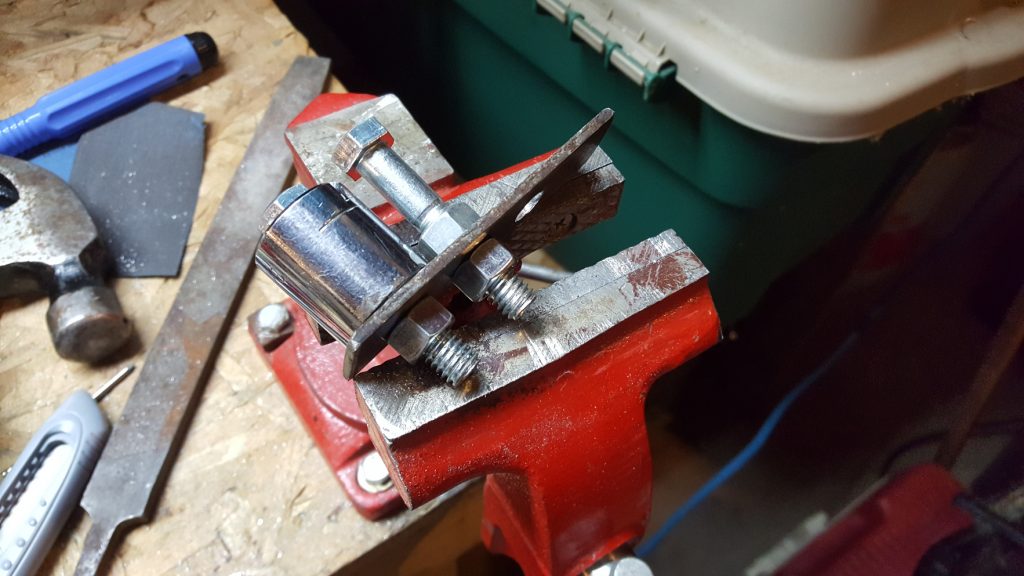
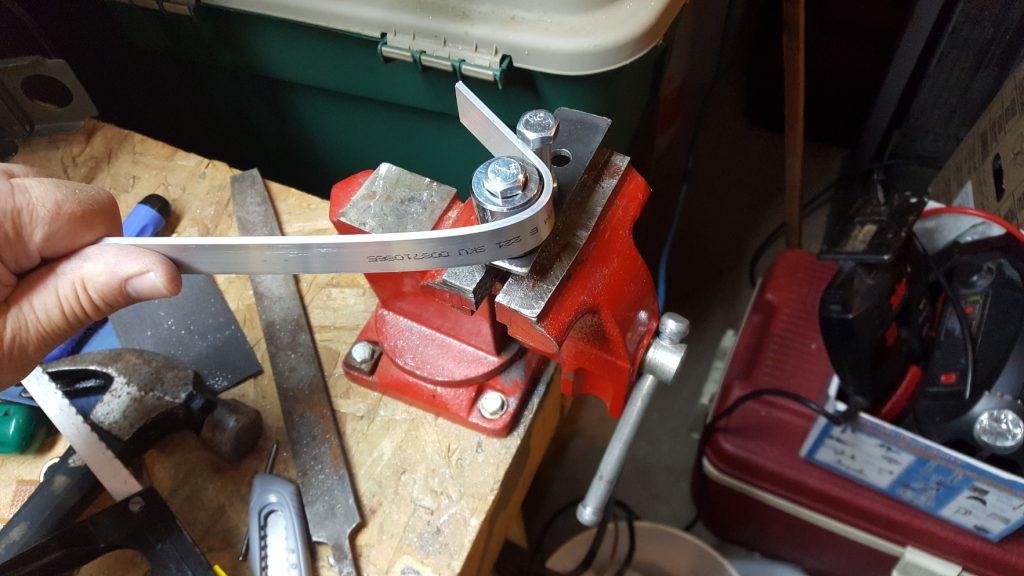
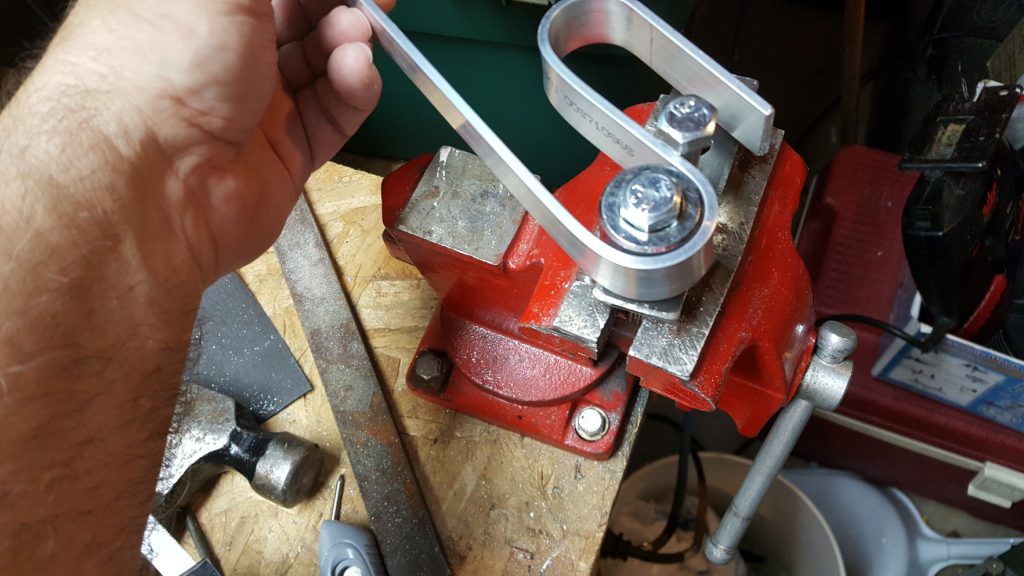
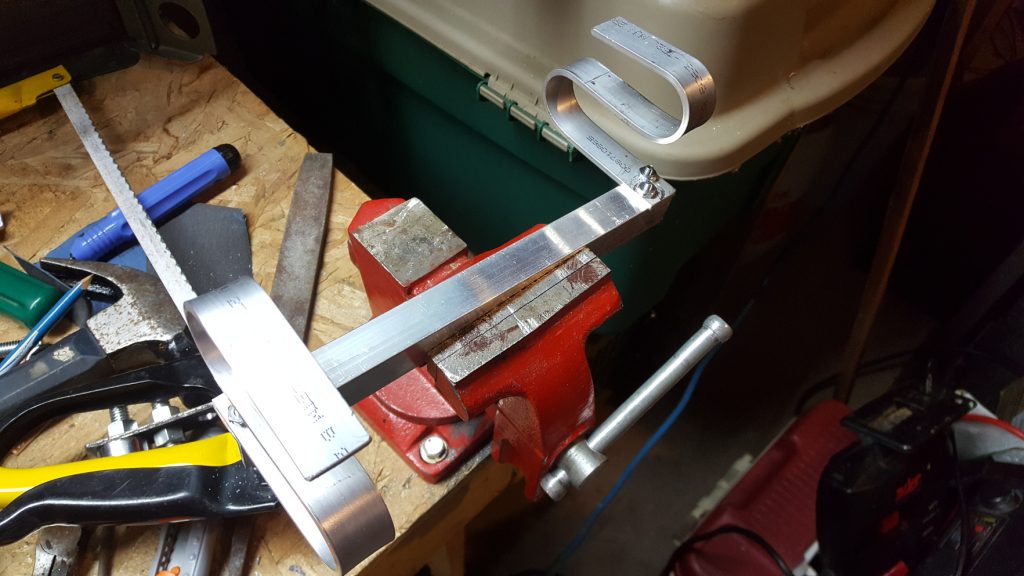
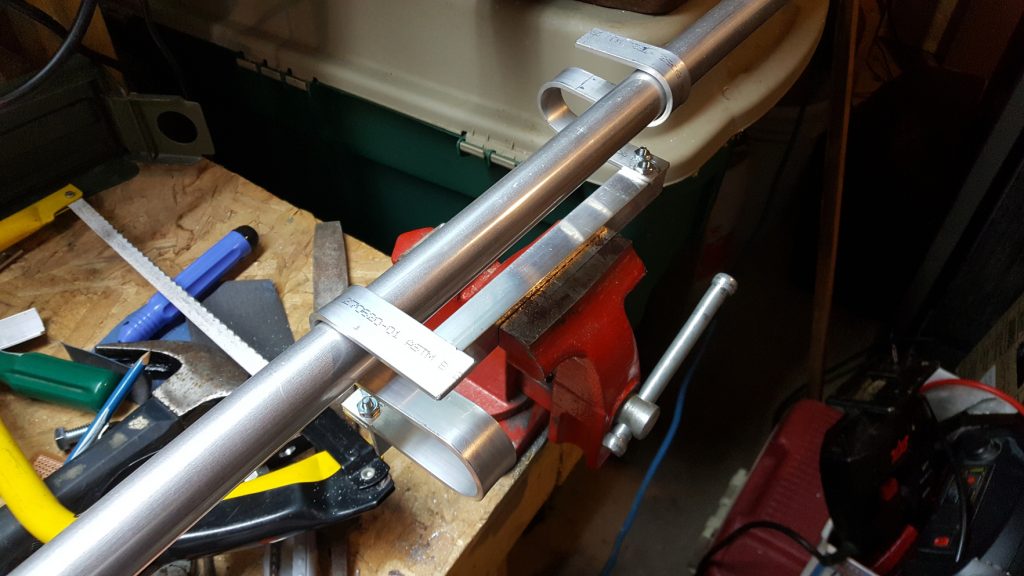
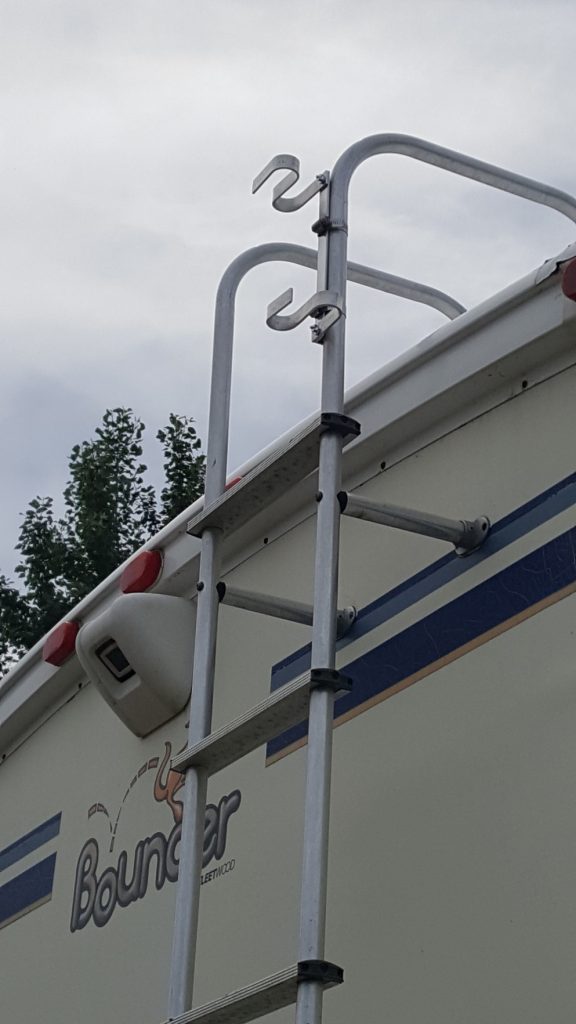
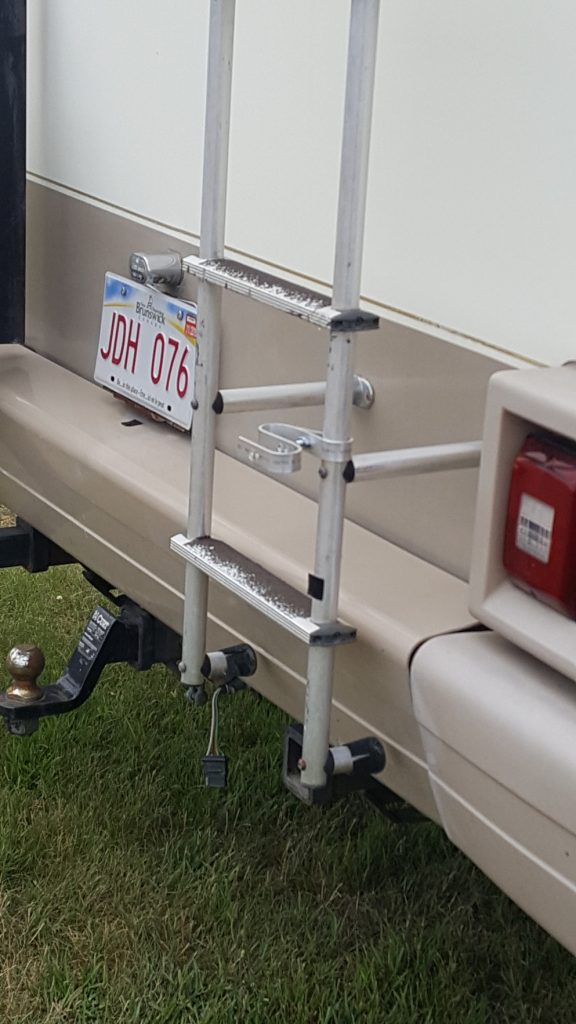
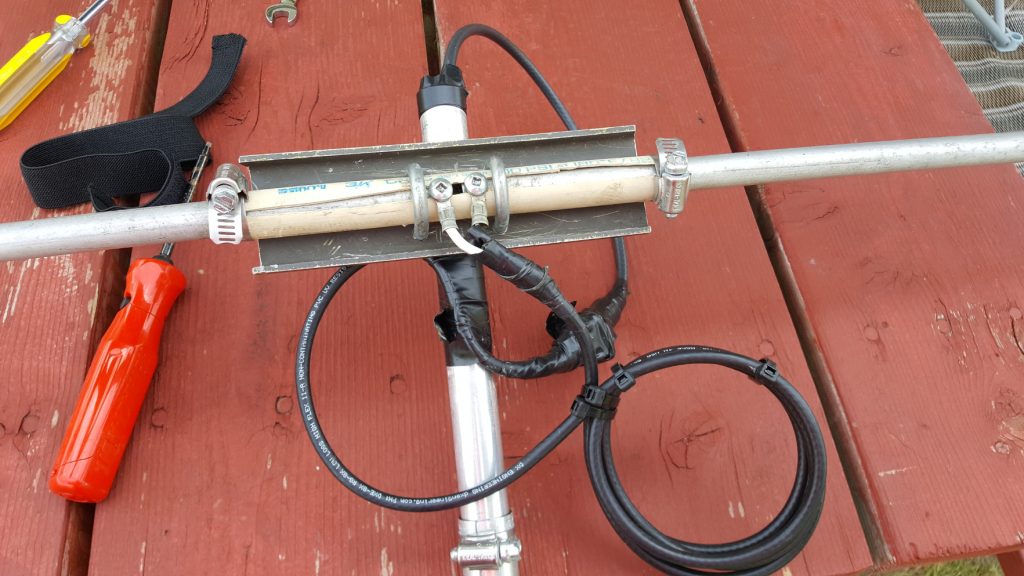
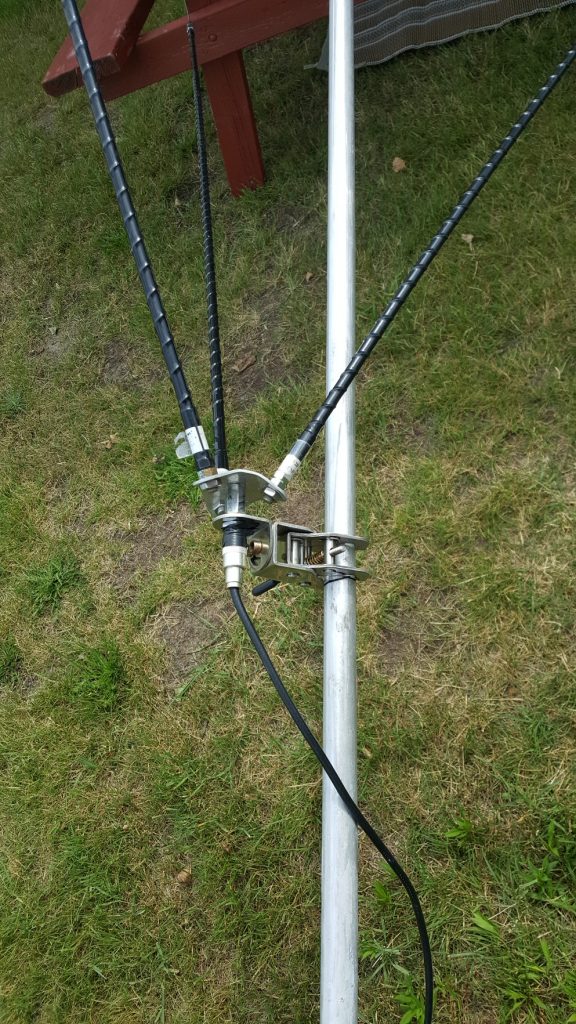
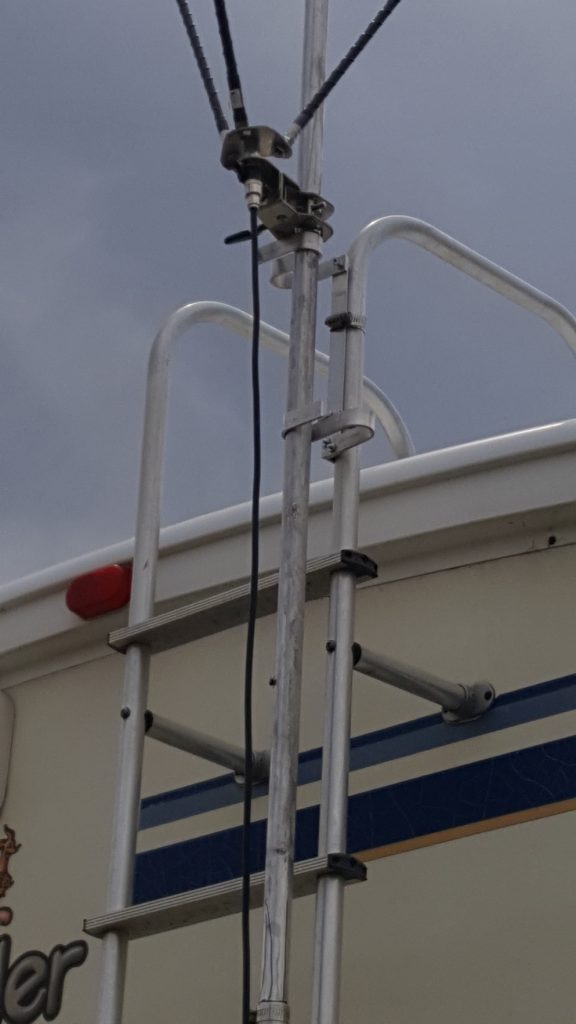
I have been working mostly FT-8 with this set up and have great luck with such a simple setup. The ground plane for the hamsticks is the mast itself and the ladder via the friction fit into the S clamps. I have worked plenty of EU DX and when the bands are good I can work worldwide DX such as ZL, VK, JA etc
It has been a rough winter in VE9
Spring has finally arrived and the snow is going down but this past winter seemed to be brutal even for here. Here are some photos of the snow vs antenna
Here is the base of my 630M vertical (Inverted L actually) in early Dec 2018
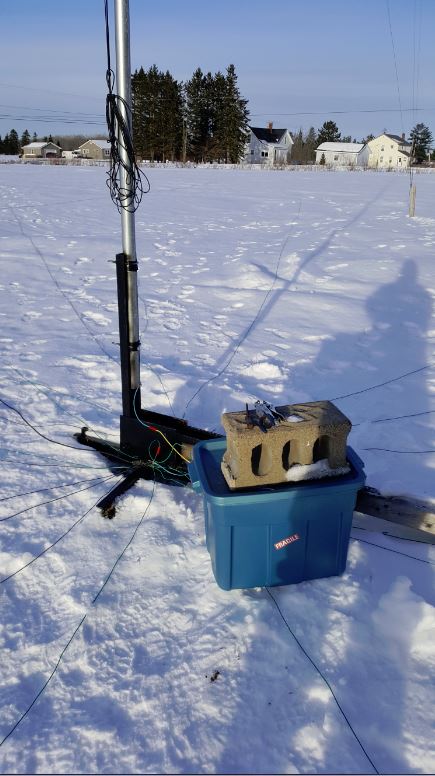
It is now early March 2019 and the SWR sweet spot has been getting lower and lower. Time to investigate.
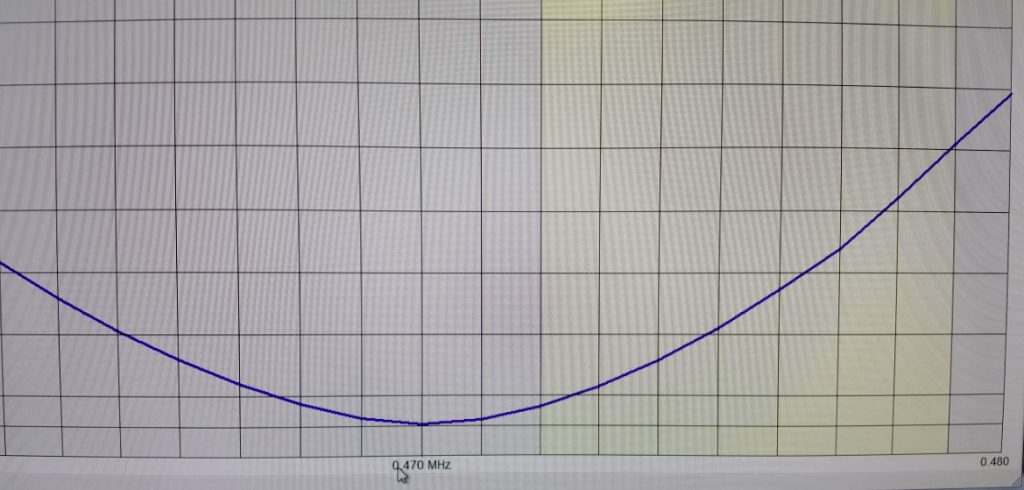
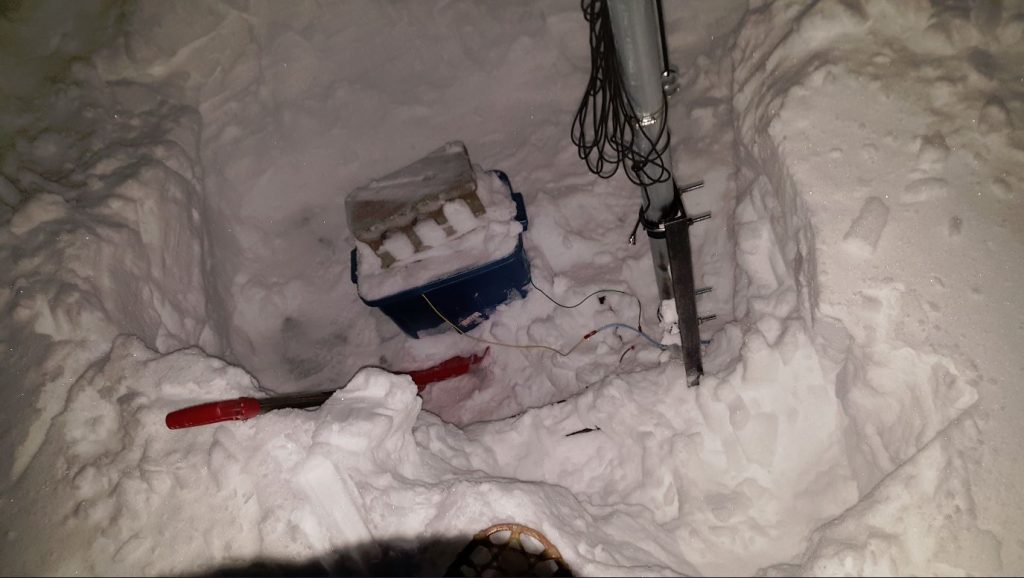
I strap on a pair of snowshoes and head out to the base of the 630M vertical and start shovelling. I had no idea there was that much snow in the field. The hole that I dug to get down to the tote that contains the matching and loading inductors must be at least 4 feet deep! That is the red shovel handle poking above the hole. After a bit of tuning the antenna is now matched in the middle of the band again. My EWE receiving antenna seems to be deaf now though. That will have to wait until the snow melts to investigate that one. 21 unique stations worked on 630M so far! Best DX is G0MRF and LA3EQ
